
The Joy of Containers
- Aug 14, 2018
- 3 min read

Containers are my favorite way to add instant beauty to a garden. They are great for beginner gardeners and for people who want to get the most bang for their buck and effort! You can find space for a container almost anywhere: on a balcony, in a shady corner, as a screen for privacy, at your front door, or on your outdoor window sill. And they can be adjusted as needed: lifted to create a pleasing arrangement or moved with the seasons! Here is how...
1. Choose a Container


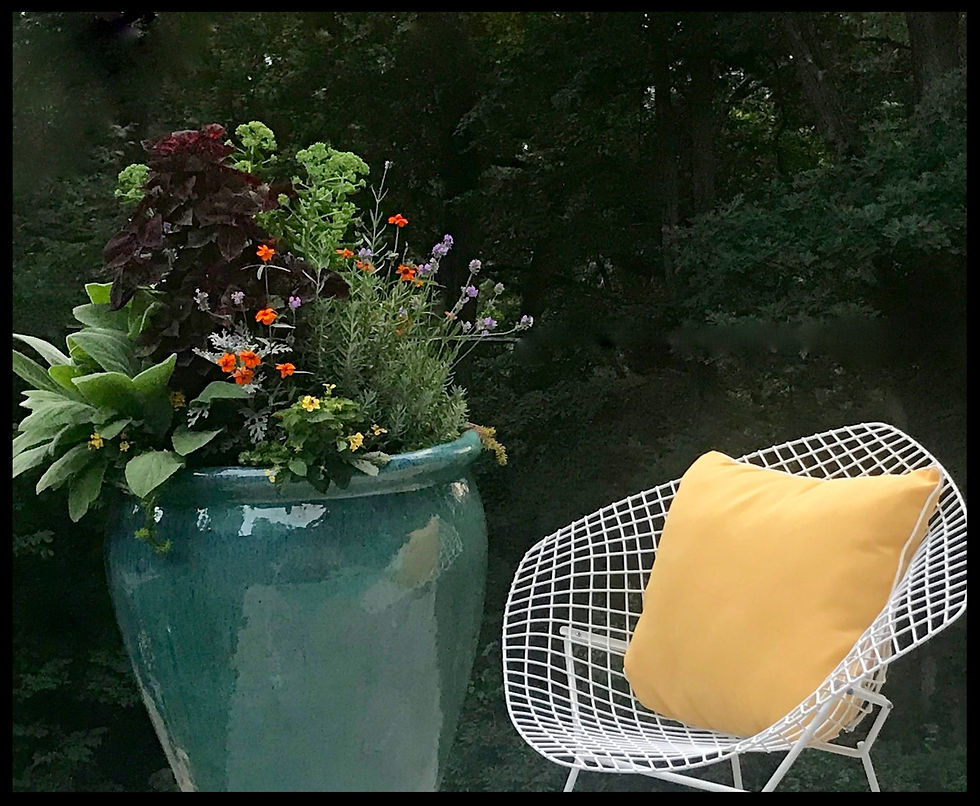
Unique containers add another dimension. Empty containers can be a piece of art.
Although you will find thousands of containers to choose from, not all are suited for your needs. To reduce the risk of cracking, especially in the cold winters of Asheville, choose one that will be tolerant of year round weather conditions. And a drainage hole is a must. Add pot feet to raise the container off of the ground, allowing water to drain away from the base. Find a container that is appropriately sized for the space you are creating, and is in a style and color that coordinates with the surroundings and your planned plant list.
2. Gather Plants

Choose plants with similar light and moisture needs. If you have sun-loving plants in the same container as shade-loving plants, someone is not going to be very happy. Beware of finicky plants!
Complementary colors, as well as varying textures and heights are the keys to creating an interesting and beautiful container.

When creating a container garden, use mature house plants, annuals and perennials for that instant gratification. Small shrubs or trees can be enjoyed in a container for a few years and then planted into your garden. Extend the season, by using plants with interesting seed pods or plumes. Consider edibles, such as lettuce, beautiful kale, or herbs. Don't forget natives of Western North Carolina.

Stick to one main color and then choose another color to highlight. One of my favorite color combinations is purple (salvia, lavender, and burgundy leaved coleus) and yellow (lantana, marigolds, and zinnias).
3. Choose Your Container Mix Ingredients Wisely

Careful here, as this will be the key to a successful container. Start with a layer of stones or non-degradable packing peanuts at the bottom for drainage. Add a time released fertilizer to your mix and consider a soil moisture product to cut down on the amount of time you spend watering. Nature's Helper is a great choice for the top mulch layer. It helps to reduce water evaporation, regulates soil temperatures and reduces weeds!
4. Meticulously Maintain

Maintenance is key when it comes to containers! Deadhead regularly to encourage continued blooming. Trim leggy parts that might be robbing other plants of light. Remove dead material. A lush display is lovely but be careful to not let it become messy and chaotic.

Consider a drip irrigation system with a timer and check for water needs regularly. If hand watering, use a breaker nozzle to provide a gentle, even flow and water until you see it drain out of the bottom. Be careful not to over water
Be vigilant about monitoring, as even one day of extreme conditions and inadequate watering can irreversibility damage even the hardiest container garden. If you have included a shrub or tree, be sure to continue watering in the winter, especially before temperatures drop below freezing.
3. Choose Your Container Mix Ingredients Wisely

Additions for Autumn: Grasses
Pansies
Dried seed pods
Ornamental corn
Pumpkins + other gourds
Ornamental cabbage
Salmon-twig Dogwood
Dried Hydrangeas (if under cover)

Additions for Winter:
Lights
Live evergreens Red-twig Dogwood
Native Winterberries
Evergreen cuttings
Pussy-willow
Harry Lauder's Walking Stick
Come see how I have used containers in my own garden!
My garden will be part of the annual Grove Park Home Tour
on Sunday, September 9 from 11 am until 5 pm.


Comments